
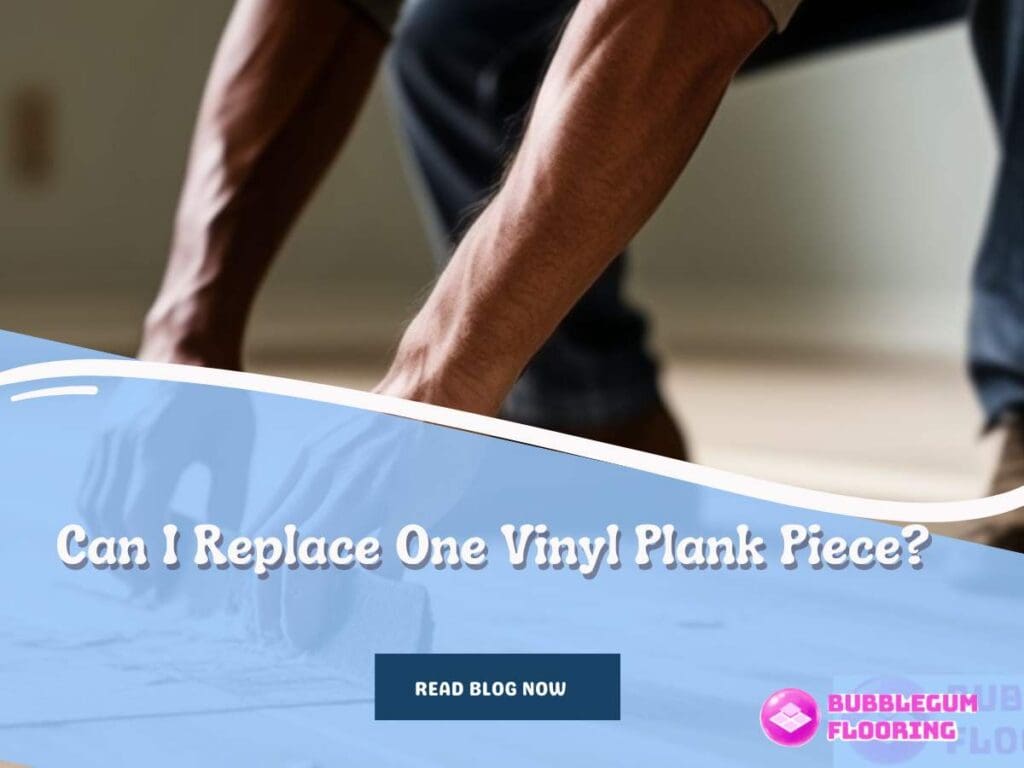
Replacing a single vinyl plank might seem daunting, but with the right tools and techniques, it’s a manageable DIY project that can restore the beauty of your flooring. Here’s an expanded guide to help you achieve a seamless vinyl plank replacement:
Table of Contents
Knowing how to replace a single plank is important
Understanding how to replace a single vinyl plank is essential because it can save you time and money in the long run. If a plank is damaged, knowing how to replace it can prevent the damage from spreading to other planks and causing further issues.
Consider whether something else may have caused the damage when replacing vinyl planks. For instance, replacing the single wood might not fix the issue if the subfloor makes the floor buckle or crack. If this is the case, you might have to change the whole room or area to fix the problem and keep it from happening again.
You can ensure that your vinyl plank flooring stays in good shape and looks great for years by learning how to replace a single board and identifying when other repairs are needed.
What kind of vinyl flooring is it? Glue down? Lay Down? Click?
If your vinyl plank flooring is glue-down, carefully peel out the damaged plank after using a heat gun or hairdryer to loosen the adhesive. After removing the old plank, you can press the replacement board into place using fresh glue.
You can easily separate the planks surrounding the damaged one and replace it with a new one if your vinyl flooring is click-or snap-together. Simply click the new plank into place, remove the damaged one, and release the surrounding planks.
Lay-down vinyl plank flooring, sometimes called loose lay or floating vinyl plank, makes it simple to replace a damaged plank with a new one by removing it.
Always check the manufacturer’s instructions for your vinyl flooring to ensure you’re replacing it correctly.
Common issues that may require replacing a single plank:
Scratches and Scuffs: The plank’s surface may become ugly due to scratches and scuffs caused by heavy furniture, pet claws, or sharp items
Water Damage: The plank may swell, warp, or change color if left in the water for a long time. This may happen due to spills, leaks, or inadequate cleaning methods.
Peeling or Lifting: When a plank peels or lifts at the edges, it can create a trip hazard and damage the floor’s integrity due to improper installation or adhesive failure.
Wear and Tear: As time passes, high-traffic areas might show signs of wear and tear, including texture loss or diminishing, which would require replacement to preserve the floor’s visual appeal.
Stains: To restore the floor’s appearance, stubborn stains from spills, grease, or chemicals might not be able to be removed, requiring the replacement of the plank.
If you catch these common problems early and replace the plank that is damaged, you can keep your vinyl plank flooring looking good and working well.
Steps to Replace a Single Vinyl Plank
To replace a broken vinyl plank, you need to pay close attention and use the right tools. How to replace a single plank, step by step:
1. Remove the damaged plank:
- Draw a central line on the damaged plank using a straight edge.
2. Draw 45-degree angles from the corners to the middle line to create triangles at each end.
- Use an additional board as a guide to measure the depth of the saw blade
- Remove any leftover material by sweeping or vacuuming after gently cutting along the center line.
- Trim the diagonals so as not to harm the boards next to them.
- Take out the two middle parts and tidy the edges of the adjacent planks.
- Take off the side locks to prepare the replacement board.
- Adhere to the replacement plank to the surrounding flooring.
- With a rubber mallet, fasten the replacement plank after aligning and inserting it.
- Put pressure on it to make sure it adheres well.
- Use acetone and a fresh towel to remove any leftover adhesive.
- After replacement, the floor will instantly be usable.
Tips and Tricks for a Successful Repair
Matching the replacement vinyl plank to the existing flooring ensures a seamless repair. Choose a plank that matches the surrounding planks’ color, texture, and size.
A smooth repair enhances the floor’s appearance and guarantees the new plank matches the rest. Also important is preventing future injury. This involves fixing any moisture or subfloor issues that caused the damage and preventing future damage by utilizing furniture pads and not dragging heavy objects over the floor.
When to Seek Professional Help
DIY can be an excellent option for many people. It’s generally straightforward and can save you money. However, there are some circumstances in which DIY may not be the best option:
- Finding an exact match might be challenging when dealing with an ancient vinyl floor.
- The floor has a warranty that you might not be able to get if you install it yourself; some makers require a professional.
- If the damage is part of a larger issue, such as water damage or basement problems, you may not be able to resolve it on your own.
.
It is best to bring in a professional to evaluate the issue and ensure everything has been fixed correctly.
When repairing vinyl plank flooring, it’s often best to hire professionals. Here’s why:
Expertise: Pros know how to fix problems quickly and correctly because they have done them before. They know how to do the job right and have the right tools.
Time-saving: Hiring an expert can save a ton of time and hassle. Compared to if you were to do it yourself, they could finish the task far more quickly.
Quality work: Pros can ensure the fix is done well, which can help prevent problems from happening again.
Warranty protection: Some experts provide warranties for their services, so you can feel secure if something goes wrong.
Safety: If you’re not experienced, using sharp tools and heavy lifting to repair flooring can be unsafe. Injuries are less likely when a professional is hired.
Cost-effective: Doing it yourself might seem like a good deal, but messing up might cost you more in the long run.
Conclusion:
Vinyl plank flooring is popular because it is durable and requires minimal maintenance. However, accidents can occur, requiring the replacement of a single plank.
Yes, it is possible to replace just one vinyl plank; you can replace a damaged vinyl plank floor in a specific manner, regardless of whether it’s glue-down, click, or lay-down flooring.
Understanding how to replace a single vinyl plank is crucial, as it can save you time and money in the long run. Taking care of issues promptly and replacing damaged planks will help your vinyl plank flooring look great for years.”
Remember that DIY might be a great alternative. There are situations where hiring a professional might be the best option, whether it is handling an outdated vinyl floor, guaranteeing warranty protection, or taking care of more significant problems like water damage. Professionals have the knowledge and resources to complete any task correctly.